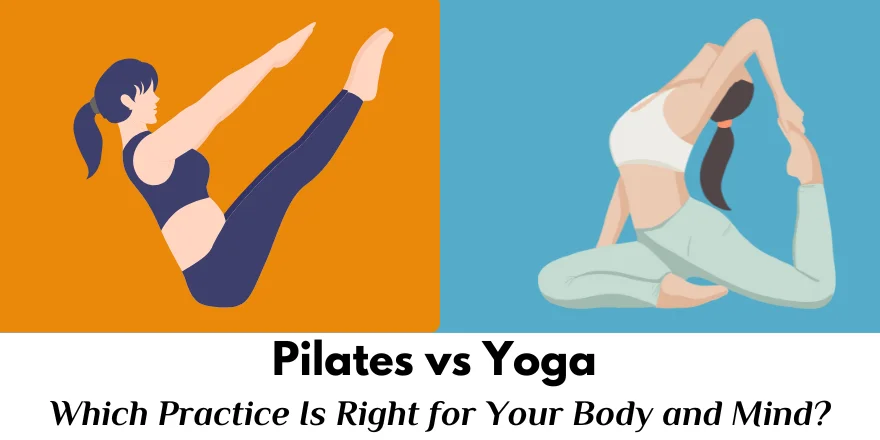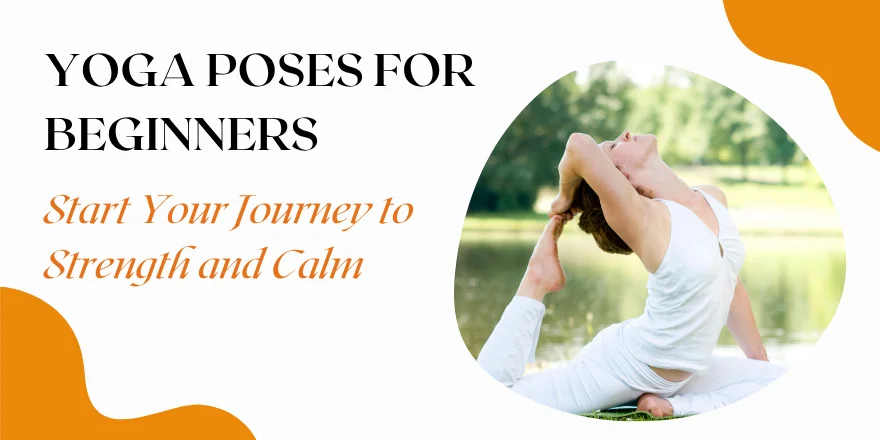
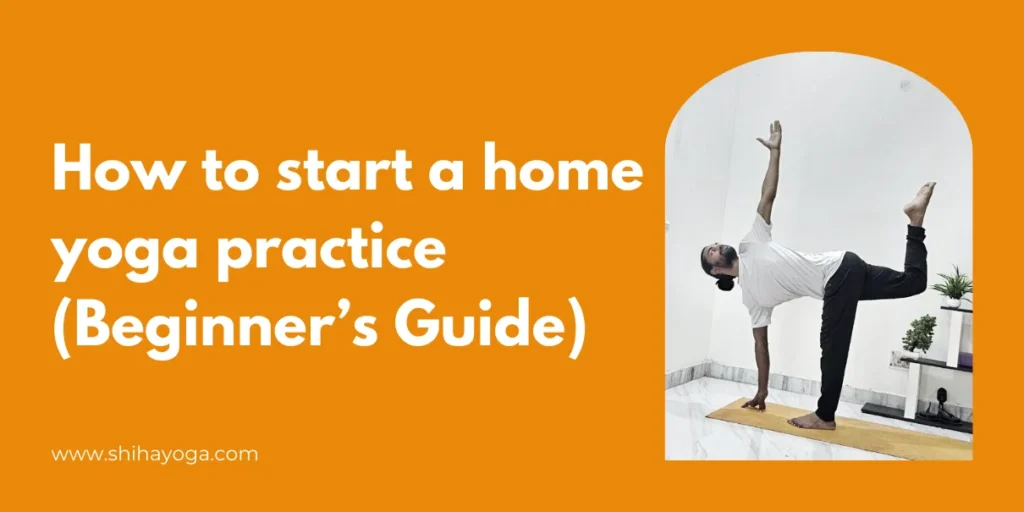
How to start a home yoga practice (Beginner’s Guide)
One of the most convenient and non-rigid methods of creating a healthy routine is by starting a yoga practice at home, however, it might seem to be daunting initially. You could have entered into the search engine how to start a home yoga practice, because classes in a studio are expensive, you have a tight schedule, or maybe you just prefer to train in solitude. You want simple steps, a straightforward routine and the assurance that you are making progress and it is safe no matter the reason you have.
This tutorial takes you through all the ingredients that you need: how to create a small, cozy space, which props are worth purchasing (and those that are not), and a beginner routine that you can practice this very night. You will also receive hints on how to remain consistent, tips on safety to avoid typical injuries, and solutions to the most frequently asked questions by beginners such as whether or not you need a mat. and “Frequency of practice?
When you would like to go much deeper with a roadmap, our Complete Home Yoga Guide or our 6-week beginner course can be taken in a more organized way. And we are going to roll the mat and begin today–no experience necessary.
Why Practice Yoga at Home?
Home practice has three very large benefits: convenience (practice when you like), customization (select your own styles and speed that works well in your body), and affordability (pay less in classes). Novices fear performing poses incorrectly in the absence of an instructor, yet most of the primary advantages of practice such as breath awareness, better flexibility, less stress, and so on results not from the perfect posture but through diligent, attentive practice. Recorded classes or a brief personal interaction, early on, ensures everything is on track, but after that, have most of the sessions small and frequent.
Preparing your Space
Make a special, tidy-up space–you need not have an entire room. The quiet location should be prioritized on a wide space on the floor of at least 2m x 1m. Natural lighting and ventilation will assist, but in the event it is not possible, good lighting and a fan will suffice. Take the following to heart:
Flooring & mat: Sufficient, on a wood or tile, is a non-slip mat. A grippy mat and a thin blanket can be put on carpet.
Ambience: Consistency can be enhanced with minimum distractions, a small speaker to facilitate guided classes and a plant or a candle with intention.
Storage: Store the props (blocks, strap, blanket) in a basket such that set up time is less than 60 seconds.
Quick Theory : You do not require a fancy set of equipment to create a studio; it is really the friction that is the problem. When rolling a mat is production, place it next to your couch or bed and practice will become easy. New habits are killed by high activation energy–lower it.
What You Have: Barebones Minimal Equipment.
Many beginners overbuy. Here’s the true minimum:
Necessities: yoga mat, loose clothes, bottle of water.
Strongly suggested: 2 blocks of yoga and a strap (or a long towel).
Extra, but luxurious: bolstered or folded blanket, savasana eye pillow.
Straps and blocks increase the length and decrease the strain, making beginners safer and providing more benefits of poses. Books and a belt are improvable but a good mat and two blocks are the most useful early purchases.
What Should Be the Length of Your Practice?
In case of an amateur, it is best to take 10-30 minutes. In case you are a habit-building, it is better to start with 10 minutes daily during 2-3 weeks and then add longer sessions (20-40 minutes) 3 times a week. The studies of habit forming behavior indicate that a short, regular session is better than ad hoc hour-long courses. It is quality, not quantity–attentive 15 minutes will make more permanent change than distracted 60 minutes.
This is a common duration of time to spend on relaxation or mobility. A combination of less time a day and one session per week is faster in gaining strength and flexibility.
10-15 Minute At-Home Practice
The following is a full-course entry level routine that you can do tonight. Times are implied but can be changed.
Warm-up (5 minutes)
- Awakening of the breath and neck rolling (1-2 minutes)
- Cat-Cow (Marjaryasana/Bitilasana) -1-2 min, breath-breath.
- Settling pose of child (30-60 seconds)
Standing flow (8-12 minutes)
- Sun Salutation A (Surya Namaskar A)- 3 rounds move slowly (aprox. 6-8 minutes total): mountain forward bends – half-lift – plank downward dog step forward forward bends – mountain.
Adjustments: lower to Chaturanga position in step back to plank in case lowering is too difficult. Knee plank pushups should be used where necessary.
- Balance and strength (2-3 minutes): Warrior II ( Vira badrhasana II) -30-60 seconds on each side and triangle pose ( Trikonasana ) to stretch the side body.
Sitting & completing test (5-8 minutes)
- Seated forward bend (Paschimottanasana) 1-2 minutes, but not depth, focus on the breath.
- Gentle twist (sitting) – 30- 60 seconds on either side.
- Savasana (Corpse pose) -3-5 minutes relaxation. Put blanket under the knees, in case the back is sensitive at the lower part.
10 minutes of practicing in a micro (alternative)
- 1 minute breathing (4:6 breaths:exhales)
- 3 minutes Sun A or flow modified (2 rounds)
- 3 min core/stability (plank knees/forearms with addition of a side plank)
- 2-3 minutes sitting or Savasana breathing.
Scaling (paragraph): 4-8 weeks slowly add the postures – forward bends, back bends, and balance poses. Measure only one small measure (days practised/week) not perfect alignment.
Safety, Alignment and Injuries
Being safe is brilliant growth and being mindful of your body. The initial and the most universal newcomers mistakes are: rounding the lower back during forward bends, collapsing shoulders during chaturanga and pushing depth during hip openers. Use these rules:
- Pain/challenge Sharp or shooting pain = discontinue. Mild stretch/pain = good.
- Use props: In hamstring stretches, the straps reduce strain when the hands are positioned on blocks used in folds.
- Gradually: Add 1 new posture a week, and record 1 practice every 2-4 weeks to be able to track alignment changes.
Before starting a vigorous practice, you should consult a healthcare provider and preferably a trained yoga therapist or teacher, especially in the case of high blood pressure, recent surgery, and pregnancy.
Outside source: To establish safety instructions and teacher training requirements refer to Yoga Alliance and local health care information. To consider a clinical issue (e.g. back pain), refer to the articles of such major health organizations as Harvard Health or peer reviewed journals on exercise and musculoskeletal health.
Internal connection: See the safety section of the pillar page to get more rehab-oriented advice.
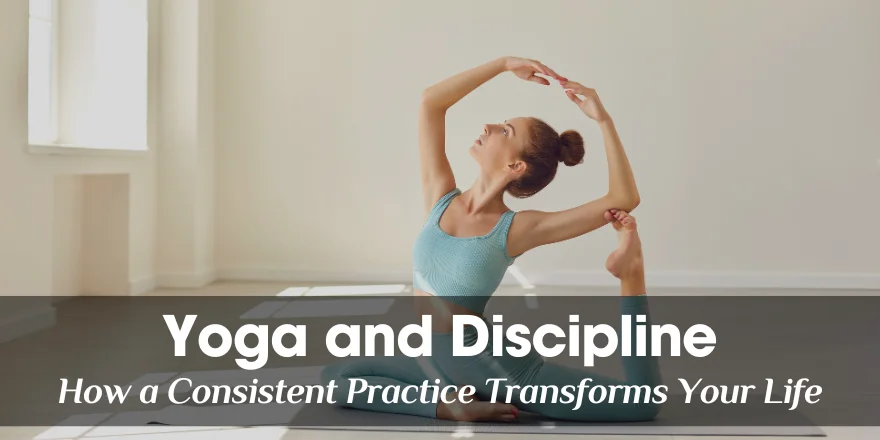
Make It Stick- Habit Formation.
Use behavior design: assign a definite time (anchor it on an existing habit such as morning coffee), make small goals (have a 10-minute minimum), make things easier (mat unrolled, clothes ready), and use a simple calendar or app to track progress. Social accountability helps You can create tiny goals (have a 10-minute minimum), set an established time (anchor it on an existing habit such as morning coffee), and monitor progress by using a simple calendar or an app. Reward consistency: Following 7 days of practice give yourself (non-food) a little reward.
Practical timetable illustration: Sample week of a active beginner: Mon/Wed/Fri – 20 minutes (strength and flow), Tue/Thu – 10 minutes (breath + mobility), Sat – 30 minutes (long session), Sun – relaxation or restful exercise.
Resources & Further Reading.
- Yoga Alliance – standards of teacher, teacher training and safety.
- Harvard (or other big health organizations summary) articles on exercise, back pain, stress and yoga.
- Suggestions on-site resources: cross-posts and pillar-page link, props, and quick routines.
Conclusion
It is not very difficult to start practicing yoga at home: one must prepare a low friction space, dedicate a few short sessions a day, use few props, and a safe progression of initial practice. Still need the entire step-by-step roadmap – and more than weeks of progressions and guided video and a printable curriculum – go through our entire guide to creating an at-home sustainable yoga practice (pillar page). Ready to begin? Go and do 10 minutes of micro practice and come back and continue.
Common Questions
Q1: Do I need to attend yoga classes or I may learn at home?
That you can start at home alright. Teaching and reaching out to the community can be done through the use of classes. Consider the face-to-face or face-to-face virtual classes you regularly attend to make sure the alignment and get the feedback individually. Classes recorded and on-line trusted teachers, use them to progressive.
Q2: Do I need equipments or any special clothes?
Minimal. All one has to do is get a non-slip mat and comfortable clothes. Blocks and a strap are very much recommended to beginners as it gives the opportunity to adjust it in a safer way.
Q3: What is the frequency of practice of beginners?
10 minutes/day or 3- 4 x 20 minutes/week. Time is not as important as regularity.
Q4: Will yoga be useful in back pains?
Back pain is relieved by many with the help of regular and light yoga, which is focused on core strength and mobility. The outcome is however not the same, as in case of acute pains or acute spinal pathology, consult a doctor. The attitude taken towards the patient should differ based on the condition of his or her health.
Q5: Can I lose weight with yoga?
Indirectly, yoga can be used to control weight due to a decrease in stress, body awareness, and even activity. The more vigorous forms (vinyasa, power yoga) can be calorie-burning; the restorative are oriented towards relaxation and mobility.